Recently added
How to sharpen your linocut gouges?

How to sharpen your printmaking tools?

In order to to make beautiful linocuts it is essential to use well-maintained tools.

So I’m going to tell you how to easily maintain and sharpen all your printmaking gouges and give you my tips to keep them perfectly sharp. There are various ways to sharpen block printing gouges. I will detail below these techniques and the one I use and especially why.

Gouges for linocutBefore talking about sharpening, I suggest you to read my article aboutdifferent types of linocut gouges and how to choose them in order to work with the right material.

As mentioned above and as with any blade, there are several distinct techniques for sharpening your gouges.

Sharpening gouges with a stone

There are different types of stones to sharpen your gouges, but as always, it is best to choose a quality stone. Also the Arkansas stones are references in this field. You can use them with water or sharpening oil. Be careful to make your choice from the start because you will not be able to switch back to water once you start sharpening your gouges with oil.

If you don’t know where to get some, you can choose this excellent Arkansas stone with a very fine grain that will make all the difference with anything you have already tried and this very good sharpening oil that will allow you to sharpen not only your gouges but also your knives for example. If you don’t want to sharpen your knives, you can invest in this small arkansas whetstone which will also do the trick for your gouges. No need to put too much oil, a few drops are enough to get a perfect edge. The advantage of this technique is that once mastered, it allows you to obtain extremely sharp blades. However, as you will have understood, it will be more or less obvious to sharpen certain gouges, especially the “u” shaped gouges or the very thin gouges. It will be necessary to use fine profiled stones that will complement the particular gouges.

Sharpen your gouges with the Flexcut slipStrop sharpening tool

Comment aiguiser gouges 
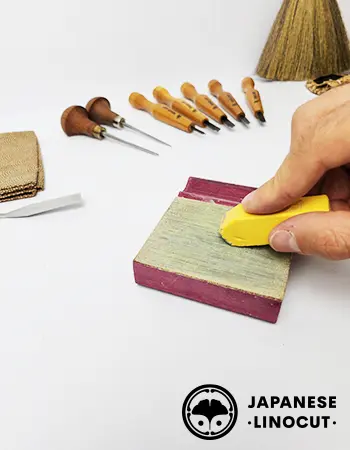
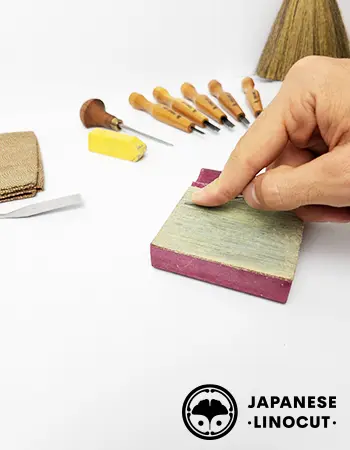
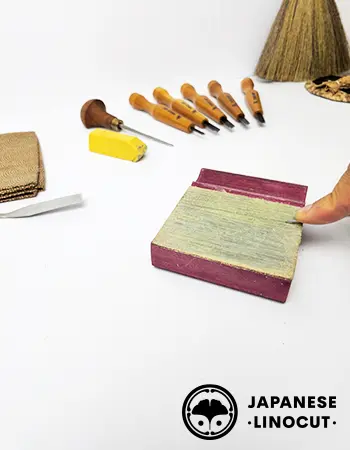
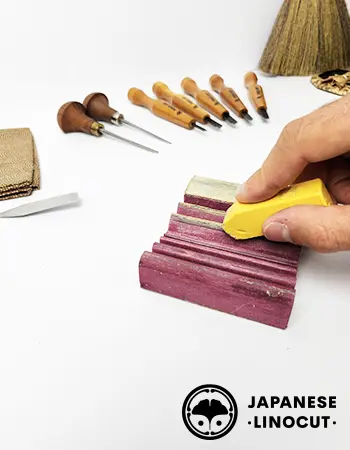
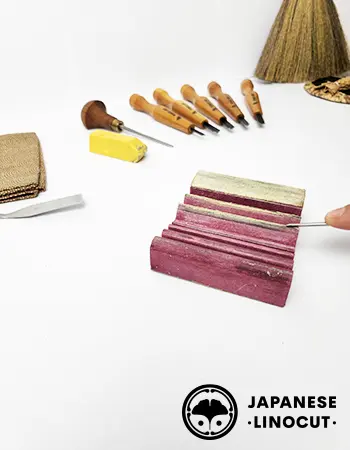
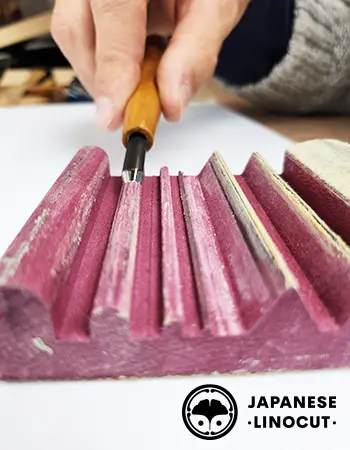
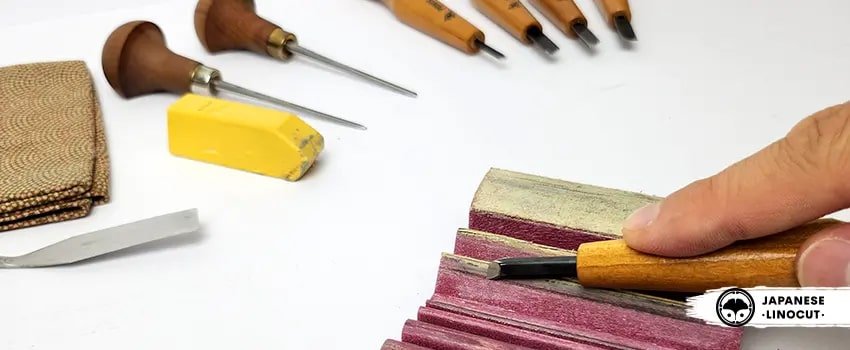
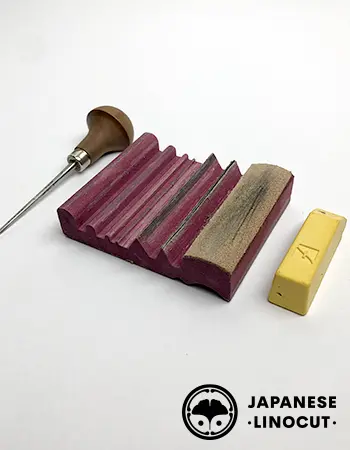
Much simpler, faster and more accessible to use than an arkansas stone, the slipStrop from flexcut is actually a wooden profile with leather parts and a sharpening compound pencil will allow you to obtain a razor sharp edge without effort. 
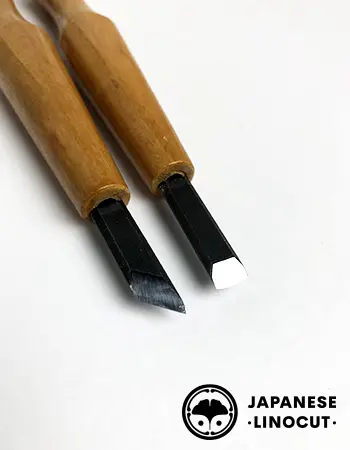
The advantage is that it will fit all gouge profiles whether they are wide, thin “u”, “v” or even flat. The wooden profiles will perfectly deburr the inner part of each gouge for a perfect edge. The fact that this tool is self-sufficient and does not require anything else, allows you to use it at any time to give your creations an edge. It is for me an excellent tool that I recommend without hesitation especially since the quality of the product is there and the consumable lasts really long.

Tips for sharpening carving tools

Whether you choose a stone or leather, it is imperative to respect the sharpening angle of each gouge. To do this, instead of referring to a percentage and taking out your protractor, I invite you to simply press on the end of your gouge with your index finger. The latter will rise and indicate the angle to be maintained during sharpening.

So sharpening a linocutting tool is essentially sharpening the outside of it. We are going to come to make back and forth from top to bottom while respecting well the angle of the gouge. We will not hesitate to make arcs on the “u” gouges to sharpen the sides.

It will be necessary to finish by the interior of the gouge by using a profile. You can repeat the operation several times if necessary.

It will be necessary to check that the edge of the gouge is perfectly deburred and that the blade does not slip at all on a nail.

And again I repeat, don’t wait until you have trouble with a gouge to sharpen it. This should be done as regularly as possible to maintain a perfect glide and a high level of detail.

how to sharpen your linocut gouges step
how to sharpen your linocut gouges step 9
Leave a Reply

Your email address will not be published. Required fields are marked *

This site uses Akismet to reduce spam. Learn how your comment data is processed.

Free shipping

Free shipping

Numbered handcrafted creations

Numbered handcrafted creations

Secure payment

Secure payment

Careful packaging

Careful packaging